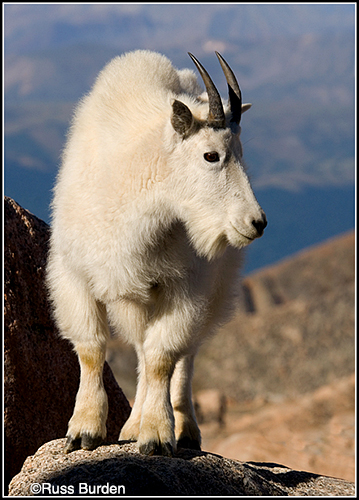
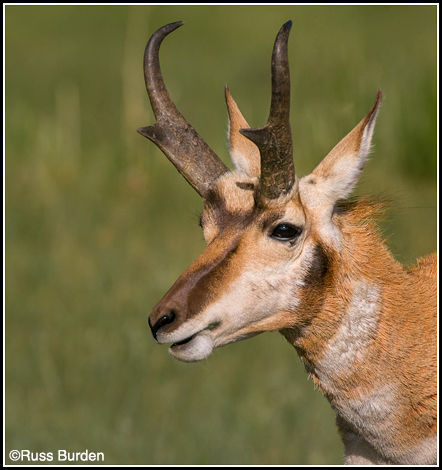
The background is equally as important as the subject. Let me repeat that – the background is equally as important as the subject. I’ve been saying this for decades. I share these words with all my workshop participants and students in my classes. Whether it’s a grand scenic, a close up of a leaf, a tight portrait of an animal, or a capture of wildlife in its environment, if the background is distracting, the image will fall short. Your pursuit of wildlife photography may take you to Africa to capture the Big 5, Alaska to get shots of migrating caribou, Yellowstone for North American mammals, or your backyard for images of butterflies and insects. Regardless of the location, capturing the perfect wildlife shot needs your being aware of the background. Regardless of how perfect the subject is, if the background is busy or competes for attention, the image doesn’t make the grade. The background should not draw the viewer’s eye away from the main subject. Distractions may include bright spots that command attention, a dark area where part of the animal merges and becomes one with it, in focus elements that draw the viewer’s eye, and areas of strong color that compete for attention. Dependent upon the setting in which the animal is photographed, it may not always be possible to eliminate all of these distractions, but there are ways to reduce their negativity.
Skyline It
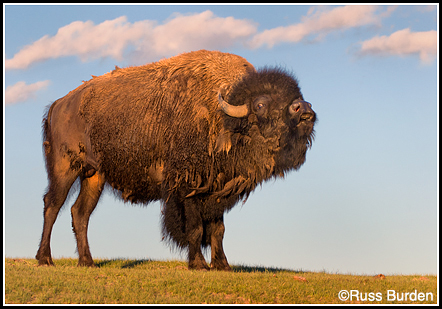
Blue skies, storm clouds, sunset, and sunrise color provide great backgrounds for wildlife subjects. Get down low and shoot up at your subject to incorporate the sky as your background. A clean sky makes a great background and allows the subject to dominate. The animal may fall into silhouette if photographed at sunrise or sunset. Should this be the situation, wait until it takes on a pose where the legs and head can be seen. A profile shot works great.
Fill The Frame
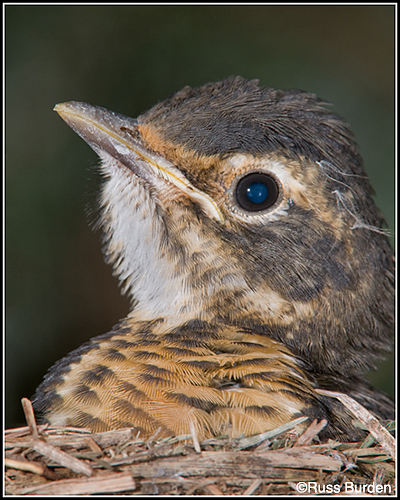
The more your subject fills the frame, the less background will be present. This reduces the possibility of including distracting elements. Use a long lens, move closer if possible, use a blind, or let the subject come to you if it’s safe.
Create Your Own
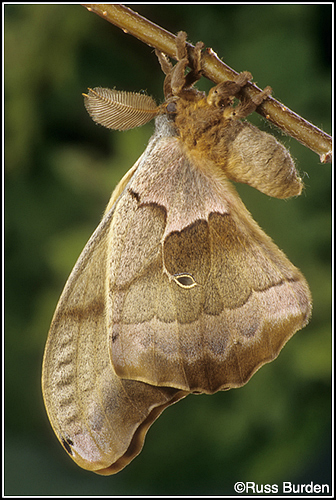
When I photograph insects or other small subjects, I carry pieces of green, blue, or brown cardboard. I strategically place them behind the subject so they fall out of focus. I place them far enough away from the subject so it doesn’t fall into the depth of field of my working aperture. It creates a beautiful wash of color that allows the subject to stand out.
Move It
Often a slight change in camera position a few degrees to the left, right, up, or down can have a major impact on what appears in the background. Study the viewfinder and if you notice a distraction, shift your position to eliminate it.
Be Patient
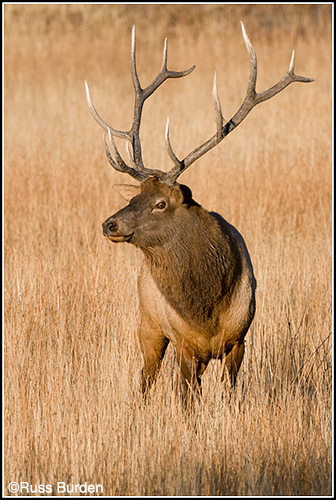
It’s great to photograph a wildlife subject in its environment, but wait for the subject to move into a position where the background is clean. While you track the subject’s movement, be aware of what the background looks like before pressing the shutter. This takes practice in that many photographers zero in on the subject and overlook what’s behind it. Try to be cognizant of both the background and subject and press the shutter when both come together.
Zoom It And Open It Up
Use combinations of long lenses and wide open apertures. This will narrow the depth of field. Whatever falls in front and behind the animal will begin to fall out of focus. If the animal is the only element in focus, the viewer’s eye is not distracted by competing elements. For more information about my nature photo tours and workshops, please visit www.russburdenphotography.com
