Inspiration / Pre-preparation
Arches National Park has great opportunities for landscape photographers. It is a land of sites seldom seen, from towering red spires, weathered sandstone fins, and more than 2,000 arches. It is a great location for a photographic adventure.
My wife Tammy and I decided to revisit Arches National Park. If we were going to go back and photograph an area we had been before, we needed to come back with not only better images, but also new different images. Our first decision was to go in January. Arches, which is 4,000 to 5,600 Feet above sea level, would probably have some snow that would contrast nicely with the red rocks. In addition, relative to the summer there would be very few people in the park. Accommodations in Moab the closest town were very inexpensive, being out of season.
First, we had to plan where we would be photographing each day. We write down our must have shots. These could be images we had taken in the past but were not happy with or something completely new. New inspiration comes from searching the net for images we like from other photographers.
The next step is to determine the best time of day for each of our priority images. We use Google Earth to determine how the light is going to interact with the subject at different times of the day. Google Earth allows one to examine where the shadows fall throughout the day. Some images will be early morning shots, some late afternoon, and some will need midday light to minimize long shadows in deep canyons.
It is all about the light and when planning a trip the light is most unpredictable. For this reason for our most important shots, we schedule three days for shooting the same location. If we should be fortunate and have great light the first or second day, we will go to plan B, the next location on our priority list.
What we need to take with us
The first consideration is safety and comfort. We used Yak Tracks on our boots and had trekking poles to climb the icy trails. I recommended some type of layered clothing as pre-sunrise can be extremely cold but warms up considerably by mid-morning. Early morning we were wearing ski gloves for shooting, as soon as it warmed up we switched to glove liners only, which had just enough warmth and great tactile control of the camera. We found out the hard way that self-tinting eyeglasses were almost useless for taking pictures. The combination of the cold temperatures and the bright light of the desert made the lenses so dark as to make seeing thru the camera viewfinder very difficult.

For carrying our camera gear we use backpacks, they distribute the weight well and keep our hands free for climbing. I was using a Nikon D800, Nikon 14-24 f/2.8, and Nikon 24-70 f/2.8. My wife was using a D600, 16-35 f/4, Nikon 50mm f/1.4, and Nikon 70-200 f/2.8. We also had a Nikon D7000 with a 16-85mm lens. This is our grab shot camera. We both had tripods. I always use a tripod, my wife Tammy prefers not to use one, hence the Vibration Reduction lenses in her bag. For filters, all our lenses had Protection filters on. We also had Polarizers and ND filters with us. We use wired release cables for long exposures. With the D800, I have found that to squeeze every last bit of detail out of the camera use the mirror lockup setting, push the release first to lock up the mirror wait about 3 seconds then press the release again to take the shot. I am aware the D800 can be set to an automatic 3-second delay, but I prefer to do it myself. I may want to wait for a bird to fly through or the wind to die down.
An essential part of our kits are our Garmin Rhinos, a combination hand held GPS and walky-talky. During our planning stage when we are looking for potential spots to photograph, we use the “hiking” and “backpacking” websites. Usually trail descriptions, photos, and GPS coordinates for trails are given. When we find something we like we will search to find multiple sources to verify the GPS coordinates are accurate. We then download the trails into our Garmins and were all set.
We had an X-Rite ColorChecker Passport with us that I should have used more. The Passport gives a reference for White Balance, a gray patch to photograph and then in post processing use the white balance eyedropper tool in the raw converter to neutralize the colors. The red and orange rocks were biasing our cameras slightly cool. Later in post processing on the shots I failed to use the Passport with, I had to resort to setting the white balance in the raw converter to daylight or cloudy and tweaking from there.
In the field shooting
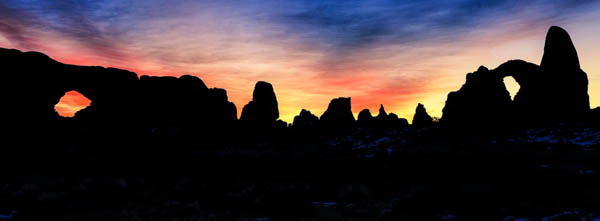
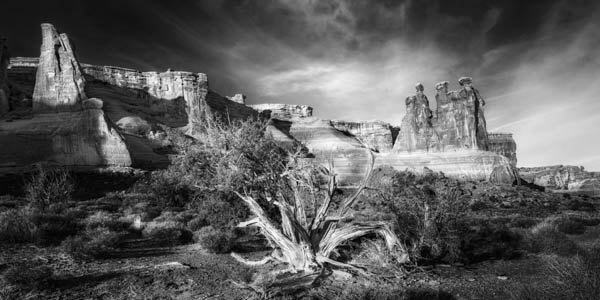
The Organ (the b&w opening image}
At 700 feet high, the organ seemed to be slicing thru the clouds. The image was shot with a 14mm on full frame. The light was dull and lifeless. With overcast sky and snow-covered ground, there remained very little color. Exposure was adjusted to insure I was not blowing highlights in the sky; I knew I would pull detail out and convert to a black and white later in post. Camera height was approximately three feet off the ground.
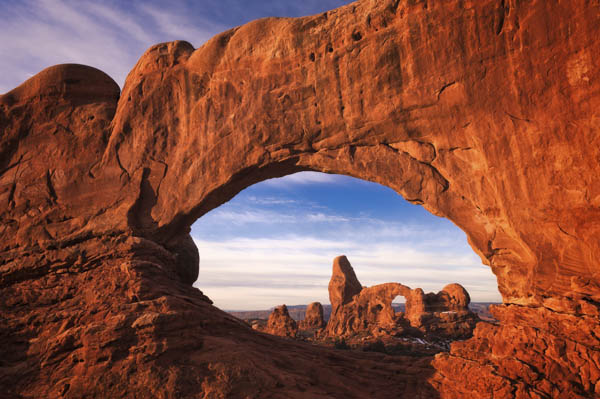
 Turret Arch thru the North Window
The toughest part of taking this shot was enduring the extreme cold and winds while waiting for the sun to show. I guess that is what I get for going to Arches in the winter. Focal length was 26mm on full frame.
The Windows Section
While I was waiting for the sun to come up Tammy was shooting the pre-sunrise light behind me. The window you see on the left is what I was shooting thru and the Turret Arch on the right is what I had centered in the window. Image was shot with 34mm lens on crop sensor camera.
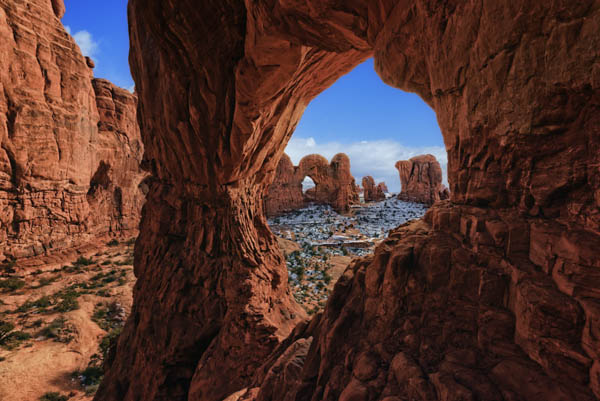
Cove of Caves View
This image probably has the highest degree of difficulty of the images we took. First, it is hard to find, it cannot be seen from the road or any paths. Second, there is no place to stand, no place to put a tripod. Tammy had to climb up the wall and with one hand holding on to the wall and take the picture with her other hand. The image was taken at 16mm on full frame.
Delicate Arch 1, 2, and 3
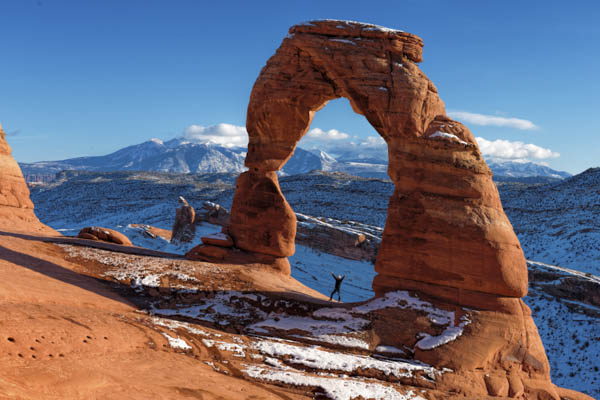
Delicate Arch is the most iconic landmark in Utah; it’s even on the Utah license plates. Image 1 is the typical view of the arch. I took the image approximately an hour before sunset. I like it because of the clarity of the mountains in the background. The tourist standing under the arch is a nice bonus as he adds scale to the image demonstrating the size of the monument. The focal length is 62mm on full frame.
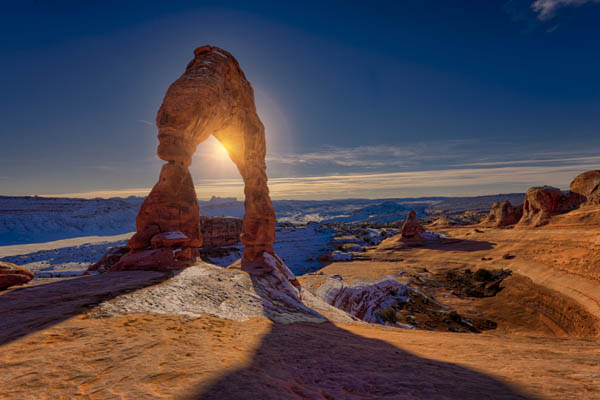
If you follow the shadows to the left side of the frame, you will find the spot I took the Delicate Arch 2. I had not shot this viewpoint in the past and it was one of the images on my list, so despite the fact I was facing into the sun with an almost cloudless sky, I decided to make the best of it. Without the clouds, I decided to use the sun for visual interest. The focal length is 17mm on full frame.
While I was shooting these images my wife, Tammy had taken a different path and was on the lower ridge thru and behind the arch. Delicate Arch 3 is a 5 image stitched panorama. This was also on our list of priority images. The focal lengths of the shots were 35mm on full frame.
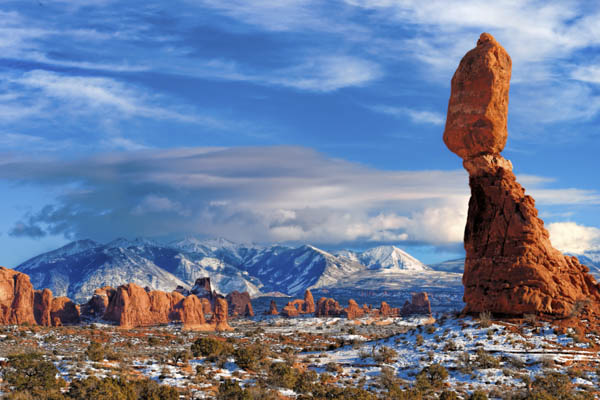
Balanced Rock, Windows section, and La Sal Mountains
According to Wikipedia, Balanced Rock is 128 feet high, with the balanced rock itself 55 feet above the base. The balanced rock is the size of three school buses. The La Sal Mountains in the background are approximately 12,000 feet high. This was one of my must have shots. The first day I shot it, the clouds covered the mountains, and this image was from my second day of shooting. One of the nice things about shooting Arches National Park in the winter is the contrast between the snow and the red rocks. This is a sunset shot hence the glow on the rocks. The focal length is 110mm on full frame.
We hiked and explored all the daylight hours. Exploring is almost as gratifying as taking pictures. I am not sure whether we use photography as an excuse to travel and explore, or use traveling and exploring as an excuse to take pictures.
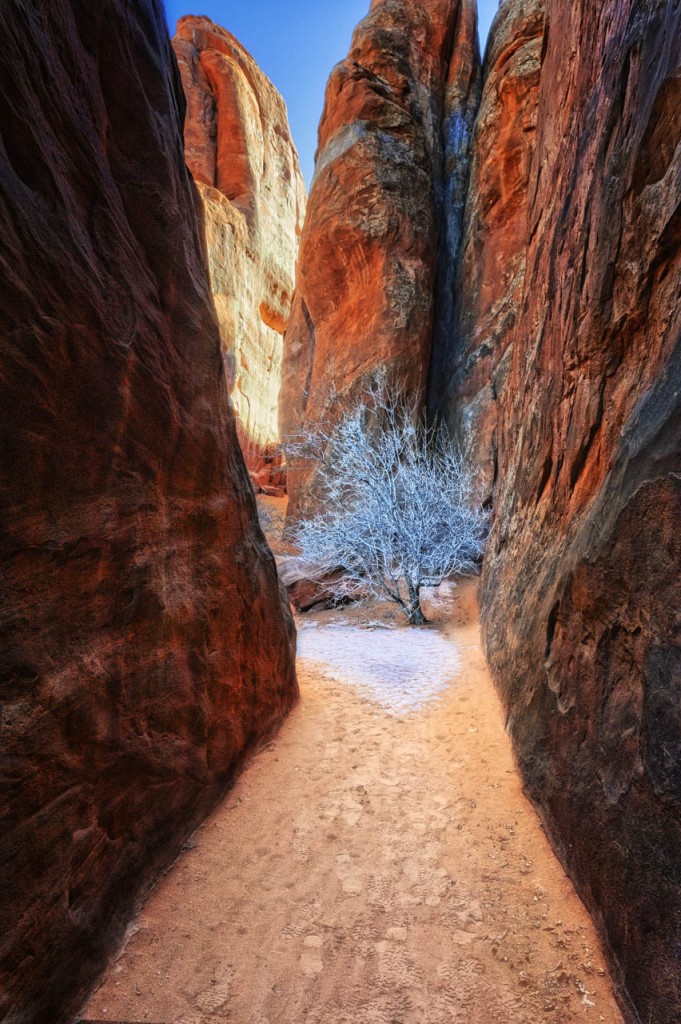
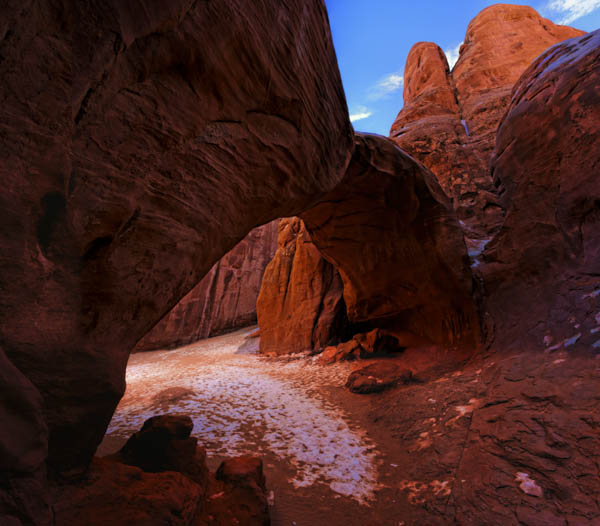
On one of our little explorations, we came across the Blue Tree image. I have no idea what gives color to the tree but it sure made it contrast nicely with the yellow and orange rocks. Taken at 24mm on full frame. A little further down we took the Snow Path image. Taken at 14mm on full frame. As wide as 14mm is sometimes I wish I could go wider, I would have liked to had the option to include a touch more sky in the image.
Home Again
We revisited Arches Nations Park to re-shoot digitally what we have shot in the past on film. However, in the realm of honoring film I thought it fitting to start and end this article with black and white images. These are black and white conversions of color digital capture made to have the look and feel of film. This process is a topic for another time.
We had a great time on the trip hiking and exploring, and came back with the images we wanted. Arches National Park was a great photo adventure.
Michael Rice
Personal website www.twistedtreephoto.com
Hunts Photo and Video Providence, RI