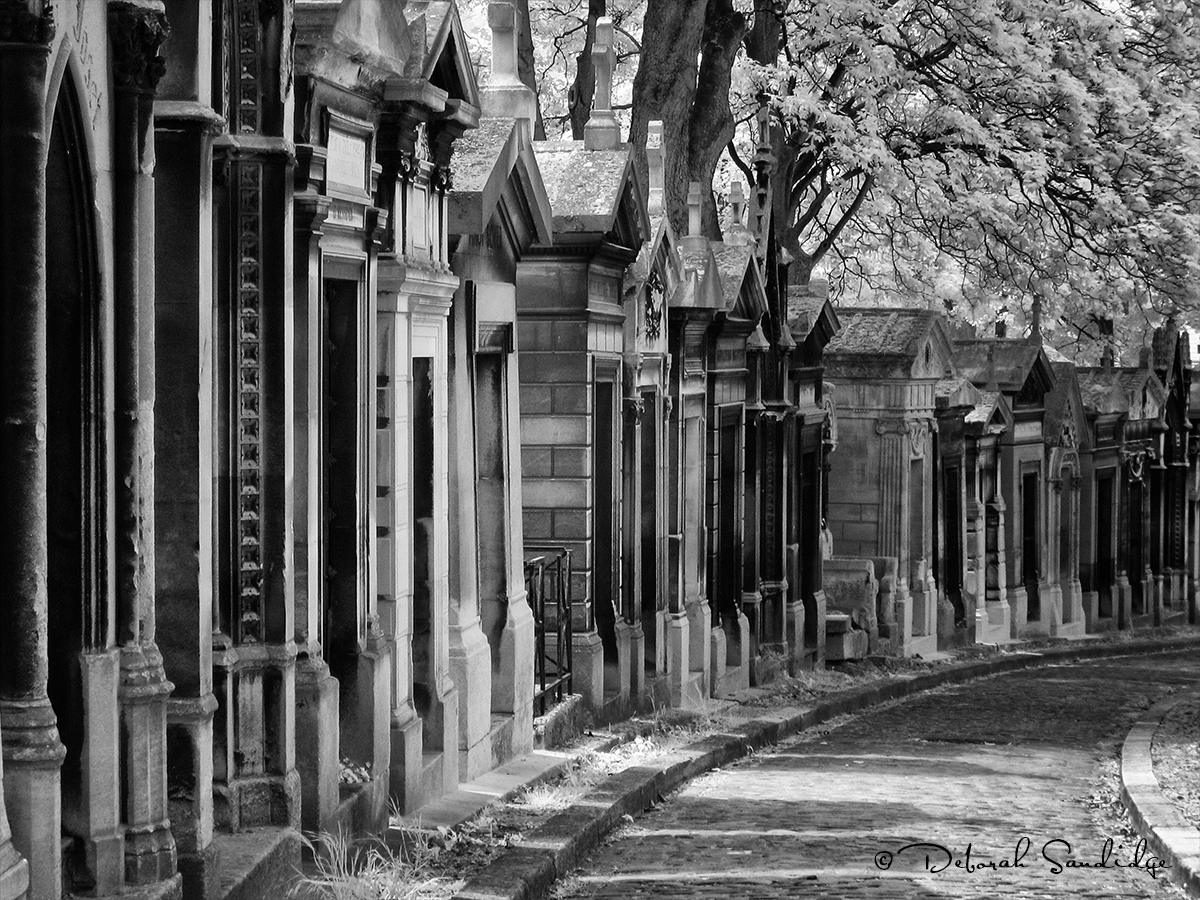
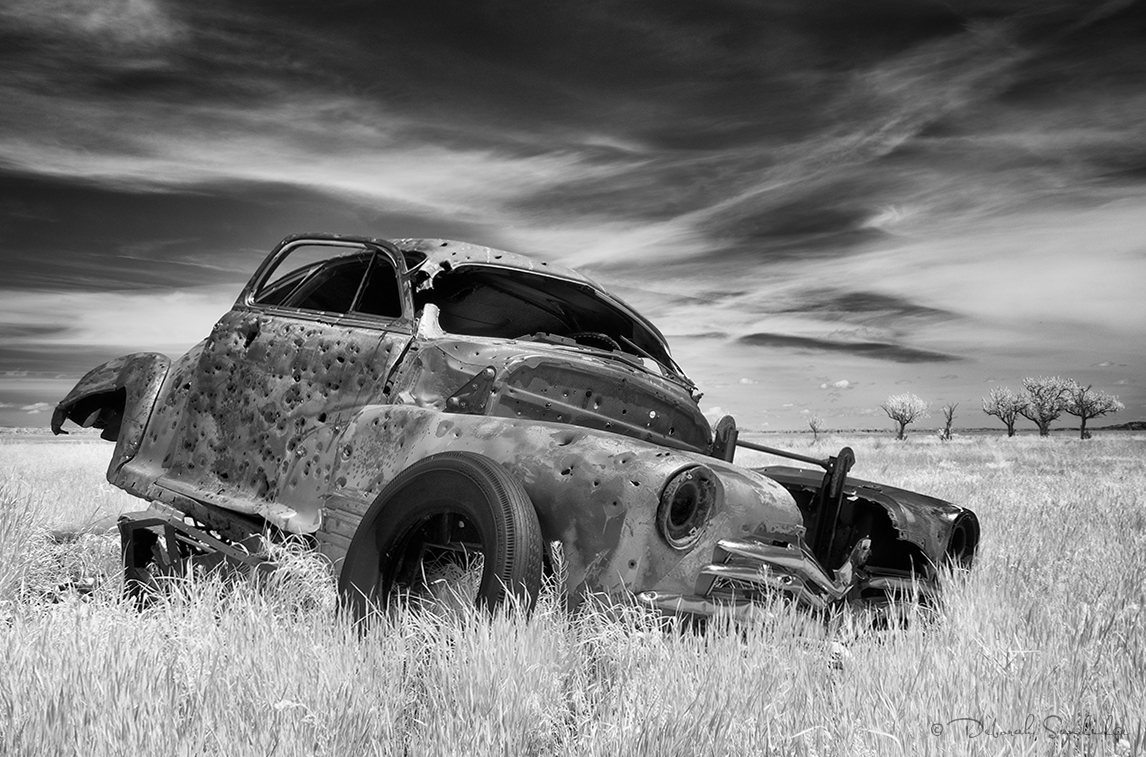
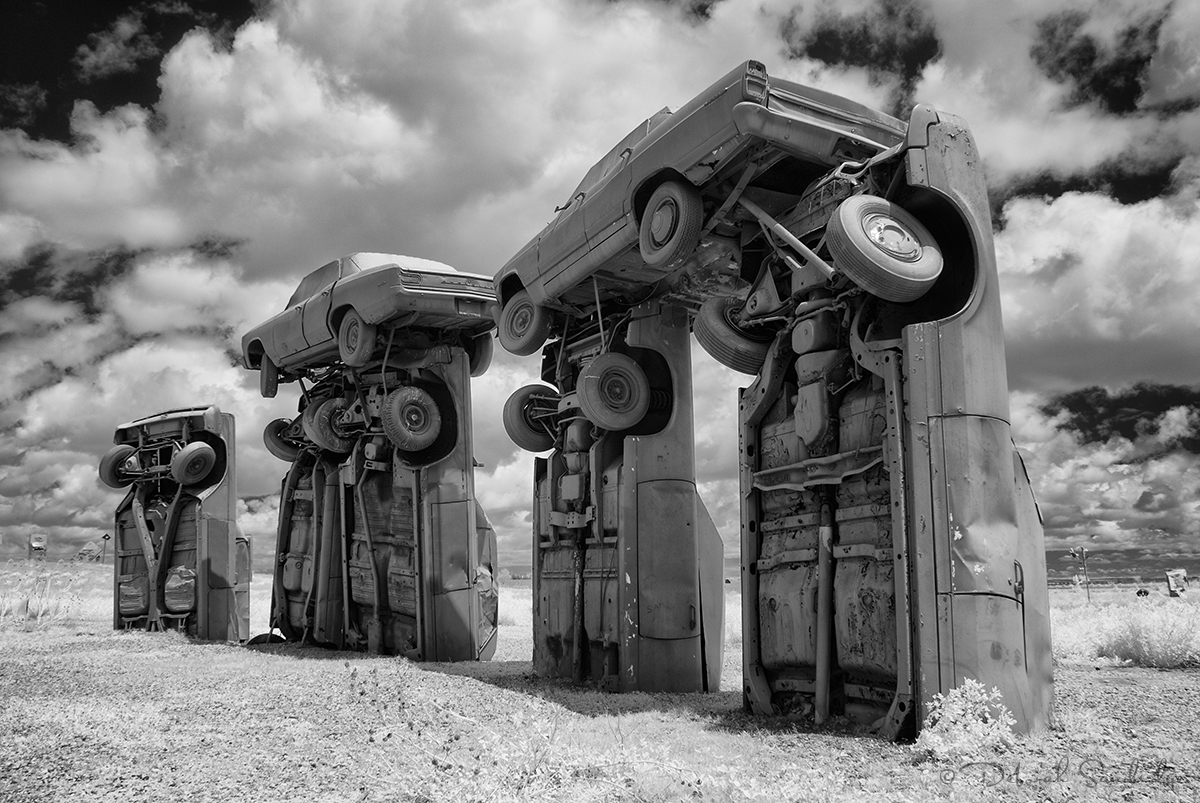
Photographers from the novice to the professional can photograph in infrared. Infrared light surrounds you — you just can’t see it. However, when you use a special filter with your digital camera, it becomes capable of recording infrared light. You can learn to visualize the behavior and effects of infrared light, and see it in your mind’s eye. The camera can capture this invisible light to transform ordinary landscapes into something magical and ethereal. You can see how incredibly beautiful the world becomes in this different light.
The infrared spectrum begins at the other end of your range of sight, at wavelengths longer than those for the color red. The range of light from around 700nm to 1,000nm is referred to as near infrared because it is near the visible spectrum. Digital cameras can record light in this range with an infrared filter in place. The sun emits infrared light including UV and visible light. You can create exquisite photographs using infrared light from the sun, but light from sources such as candles or incandescent bulbs can also be recorded with infrared photography. In other words, you can creatively photograph infrared light at night.
 How do you capture something you can’t see with your own eyes? There are several methods that enable you to shoot in infrared. You can place an infrared filter on the lens of the camera, or, you can have a digital camera converted to photograph in infrared. Using an infrared filter requires a long exposure (a tripod is necessary which requires you to compose, meter and focus first). Converting a camera is a bit more expensive, but the camera operates normally with the major exception being that you can no longer use it to capture traditional color imagery.
In infrared, your compositions become more surreal and artistic. From a photographic perspective, the world is captivating in an entirely new way. Many subjects reflect or absorb infrared differently than they do visible light. In an infrared image, the contrast range between the sky and clouds is often quite wide. The sky and bodies of water can appear very dark. Foliage appears white and is unexpectedly different and beautiful.
Skin tones take on an ethereal appearance that is very attractive for wedding photographers and for fine art nude photography. Infrared photography can look similar to timeless black-and-white photography, yet there is something enchantingly unique about it.
 You can choose from several types of infrared filters. A numeric system called Wratten is used to identify infrared filters and can be a bit daunting, especially when combined with many filter manufacturers’ own proprietary numbering systems. The simplest way to understand how an infrared filter functions is to look at the filter number. The higher the number, the smaller the amount of visible light that reaches the camera sensor.
For example, a filter labeled R72 means that the cutoff point for visible light is 720nm. This is often referred to as a “standard” type infrared filter. With this filter, a small amount of visible light reaches the sensor which is sometimes used for “channel swapping” to create the blue sky effect.
If you choose a filter such as the 87C (830nm), the cutoff point for visible light is higher, producing an image that has more contrast in infrared, the whitest foliage, and very high contrast infrared images. I recommend using a standard infrared filter as it’s easy to use and offers good results. Each filter is very dark red, almost black. When you use an infrared filter in front of the camera lens, exposure times are longer because the hot mirror is in place and doing its job to block infrared light. Once you attach the infrared filter to the lens, it is so dark that seeing through it is impossible. You’ll need a tripod for the long exposure, and a cable release or self-timer to prevent transferring any vibration or movement to the camera. If you choose to convert a camera, you’ll be able create more candid and spontaneous imagery with good image quality. However if you use an infrared filter, the long exposure results can creatively blur clouds and water with beautiful results.
There are a couple of factors to consider before purchasing a filter or having your camera converted. If you are just starting out, you may want to see the effect of infrared photography before jumping in and having a camera converted. The lens you use most frequently will determine the size of the filter you need.
Many photographers convert an older and no longer used camera. If you have an older camera with Live View, you are in luck, Live View will allow you to precisely focus, and you can use most any lens on your camera. With an infrared filter, you can manually focus for good results. There are several choices for infrared camera conversion, which makes infrared photography very exciting! Let’s go into a little more detail about the differences between filter choices.
The deep black and white infrared filter (830nm) allows the least amount of visible light to reach the sensor, and creates black-and-white infrared images with good contrast. Very little Photoshop is needed.
The standard R72 type filter, (720nm) is the most common and is easy to work with. A small amount of visible light reaches the camera sensor, which can be used creatively for the desirable blue-sky effect. You can also choose to purchase this filter for your existing camera (without conversion) to give infrared photography a try.
The enhanced color filter (665nm) allows more visible light to reach the camera sensor and creates an image that is very detailed and has many options for creative color use. The tradeoff may be noticeable on cloudy days where the foliage appears less white than with the 87C (830nm) when converting images to black and white. However, contrast adjustments can be made to create an image with good tonality.
The super color infrared filter (590nm) allows the most visible light to reach the camera sensor. This filter can create stunning imagery with a vivid blue sky and rich gold foliage. Like the enhanced color filter, a little more Photoshop is required for post processing, allowing the photographer to work with the more creative and artistic aspects of infrared photography.
All of the infrared camera conversion methods can be used for creating timeless and traditional black and white infrared imagery. The last two filters give the photographer more latitude with interpretation of color in infrared. Again, you can purchase an R72 filter to give infrared photography a try.
Photographing in infrared can give you a new outlet for artistic expression by allowing you to shoot traditional subjects in novel and interesting ways. A color photograph converted to black and white is quite different from a black and white infrared image. Nothing can quite compare with the surreal factor of bright white foliage, a dark sky and the uniqueness of how infrared light is reflected and absorbed by different surfaces. Infrared photography is a wonderful way to broaden your photographic horizons and expand your creativity!
For ordering infrared filters from Hunt’s Photo & Video, call 800-221-1830 and ask for a sales associate. Mention this blog post for 20% off your filter purchase.